장고로 정적 웹문서 부터 동적 웹문서 서빙


웹문서를 장고로 서빙하는 부분을 단계별로 따라하면서 실습을 해보려고 합니다. 그대로 따라하면서 장고를 배우려 합니다.
워드 문서로부터 생성된 HTML 문서
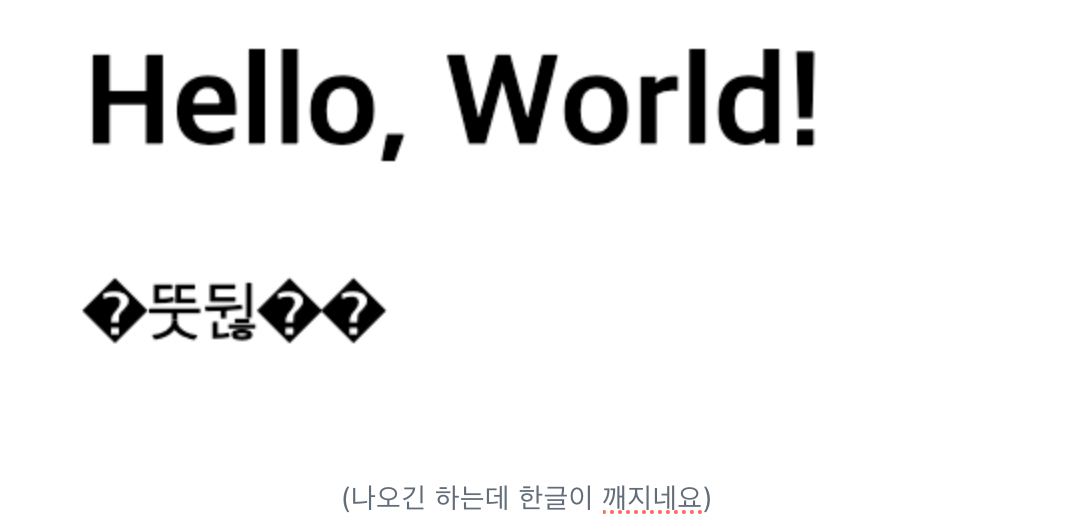
먼저, HTML 문서를 만들어 봅시다. 워드 문서로 작성한 내용을 HTML로 변환하는 것은 간단합니다. 예를 들어, 워드 문서에서 저장할 때 '웹 페이지' 형식으로 저장하면 HTML 파일이 생성됩니다.
<html>
<head>
    <title>Sample Document</title>
</head>
<body>
    <h1>Hello, World!</h1>
    <p>테스트</p>
</body>
</html>
자바스크립트 추가로 문서 상호작용
HTML 문서에 자바스크립트를 추가하여 사용자와의 상호작용을 구현할 수 있습니다. 버튼 클릭 시 알림 메시지를 띄우는 예제를 봅시다.
<html>
<head>
    <title>Interactive Document</title>
    <script>
        function showAlert() {
            alert('버튼 클릭!');
        }
    </script>
</head>
<body>
    <h1>Interactive Document</h1>
    <button onclick="showAlert()">Click Me</button>
</body>
</html>
웹서버를 통한 HTML 서빙
로컬에서 HTML 파일을 여는 것과 달리, 웹 서버를 통해 HTML 파일을 서빙하는 방법을 알아봅시다. 간단한 파이썬 HTTP 서버를 이용해 보겠습니다.
먼저 가상환경을 생성하고 활성화합니다.
python -m venv myenv
source myenv/bin/activate  # Windows에서는 myenv\Scripts\activate
저는 python 이 2.x 버전이라서 python3 으로 실행하였습니다.

이후, 가상환경 내에서 HTTP 서버를 실행합니다.
python3 -m http.server 8000
이 명령어를 실행하면, http://localhost:8000에서 HTML 파일을 확인할 수 있습니다
장고 서비스
장고 프로젝트를 시작하기 위해서는 먼저 가상환경에서 장고를 설치해야 합니다.
pip install django
이후, 장고 프로젝트를 생성하고 실행합니다.
django-admin startproject mysite
cd mysite
python manage.py runserver
외부 데이터를 로딩하여 HTML 응답하기
외부 데이터를 로딩하여 HTML로 응답하는 방법을 알아봅시다. 예를 들어, JSONPlaceholder API를 이용해 봅시다.
# views.py
from django.shortcuts import render
import requests

def external_data(request):
    response = requests.get('https://jsonplaceholder.typicode.com/posts')
    data = response.json()
    return render(request, 'external_data.html', {'data': data})
external_data.html을 생성합니다.
<html>
<head>
<title>External Data</title>
</head>
<body>
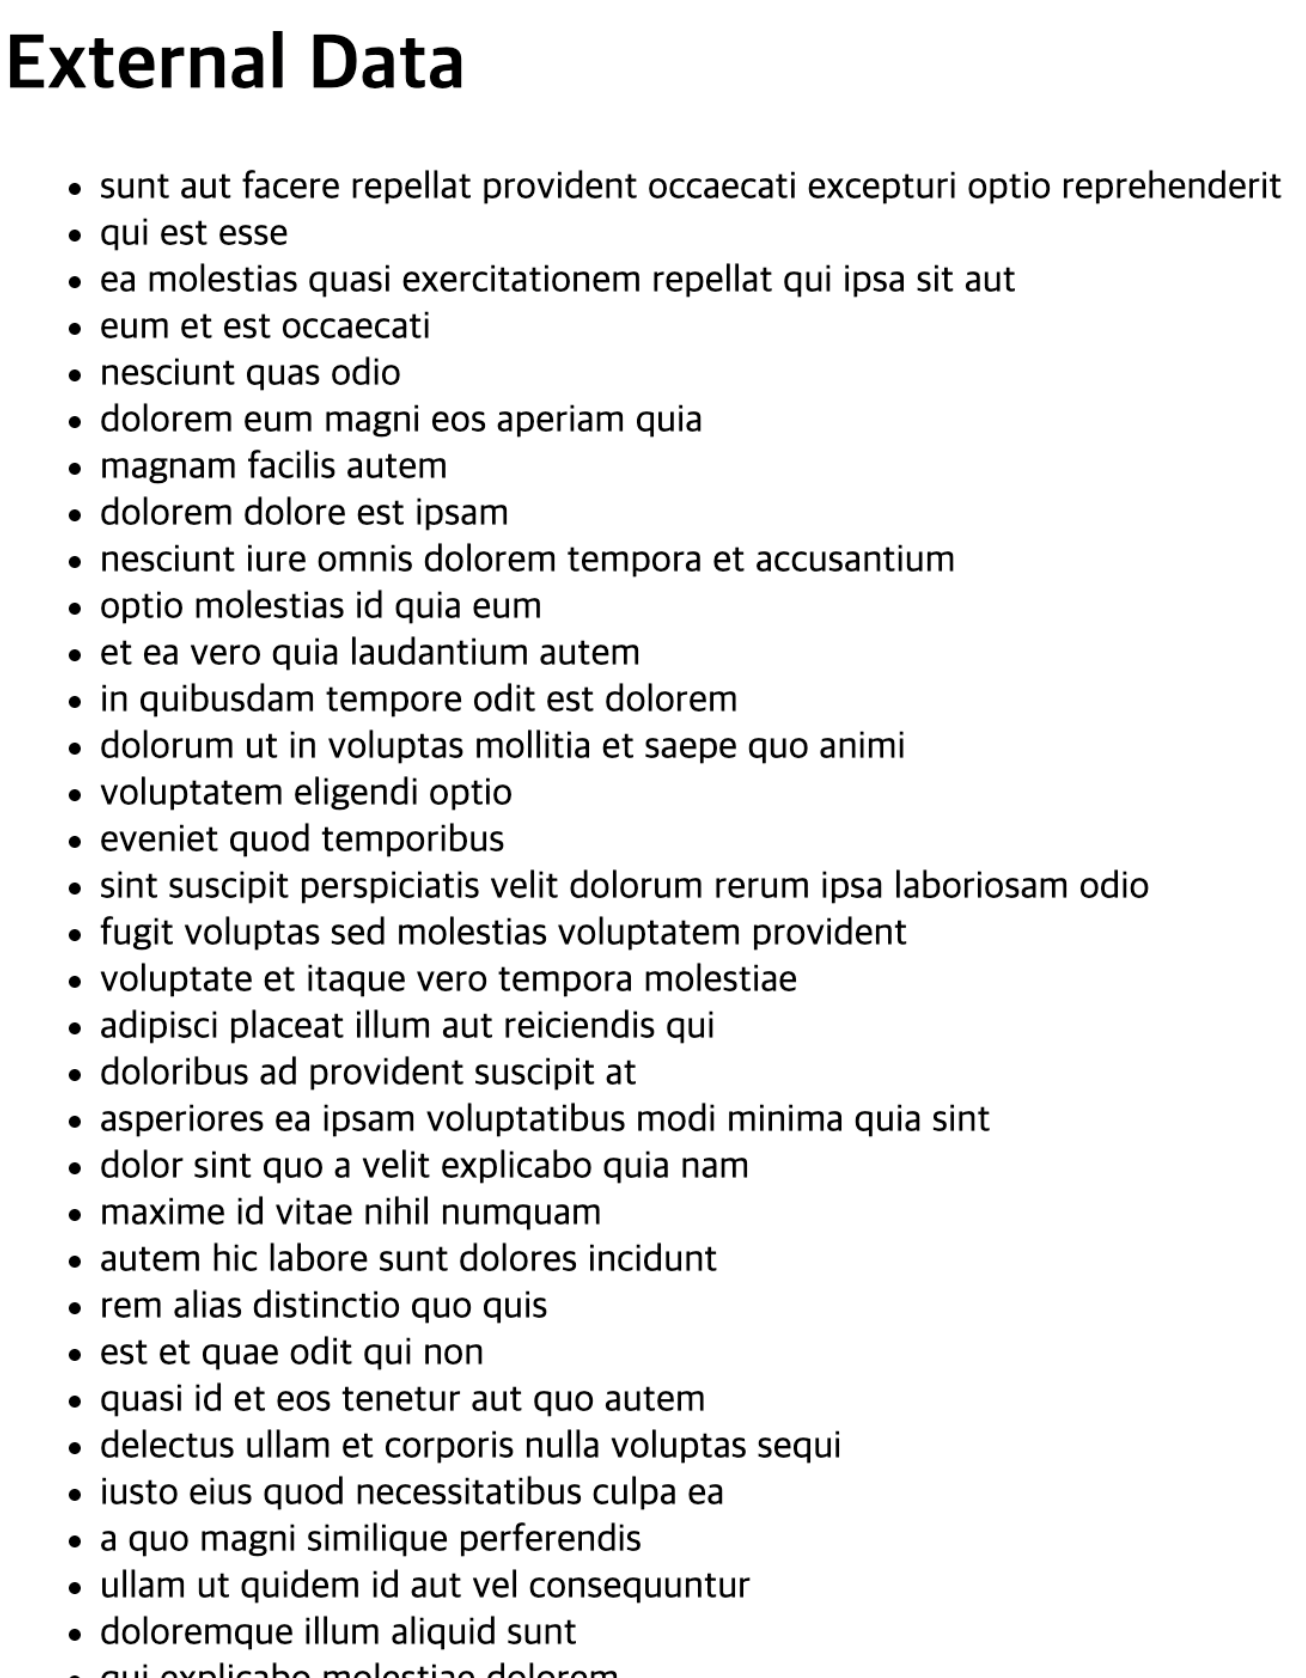
<h1>External Data</h1>
<ul>
{% for post in data %}
<li>{{ post.title }}</li>
{% endfor %}
</ul>
</body>
</html>
urls.py 에 경로를 추가 합니다.
from django.contrib import admin
from django.urls import path
from . import views

urlpatterns = [
    path('admin/', admin.site.urls),
    path('external-data/', views.external_data, name='external_data'),
]
settings.py 에 html 경로를 연결해줍니다.
import os

...

TEMPLATES = [
    {
        'BACKEND': 'django.template.backends.django.DjangoTemplates',
        'DIRS': [os.path.join(BASE_DIR, 'templates')],
        'APP_DIRS': True,
        'OPTIONS': {
            'context_processors': [
                'django.template.context_processors.debug',
                'django.template.context_processors.request',
                'django.contrib.auth.context_processors.auth',
                'django.contrib.messages.context_processors.messages',
            ],
        },
    },
]
서버를 구동하고 아래 URL접근해봅니다.
http://127.0.0.1:8000/external-data/
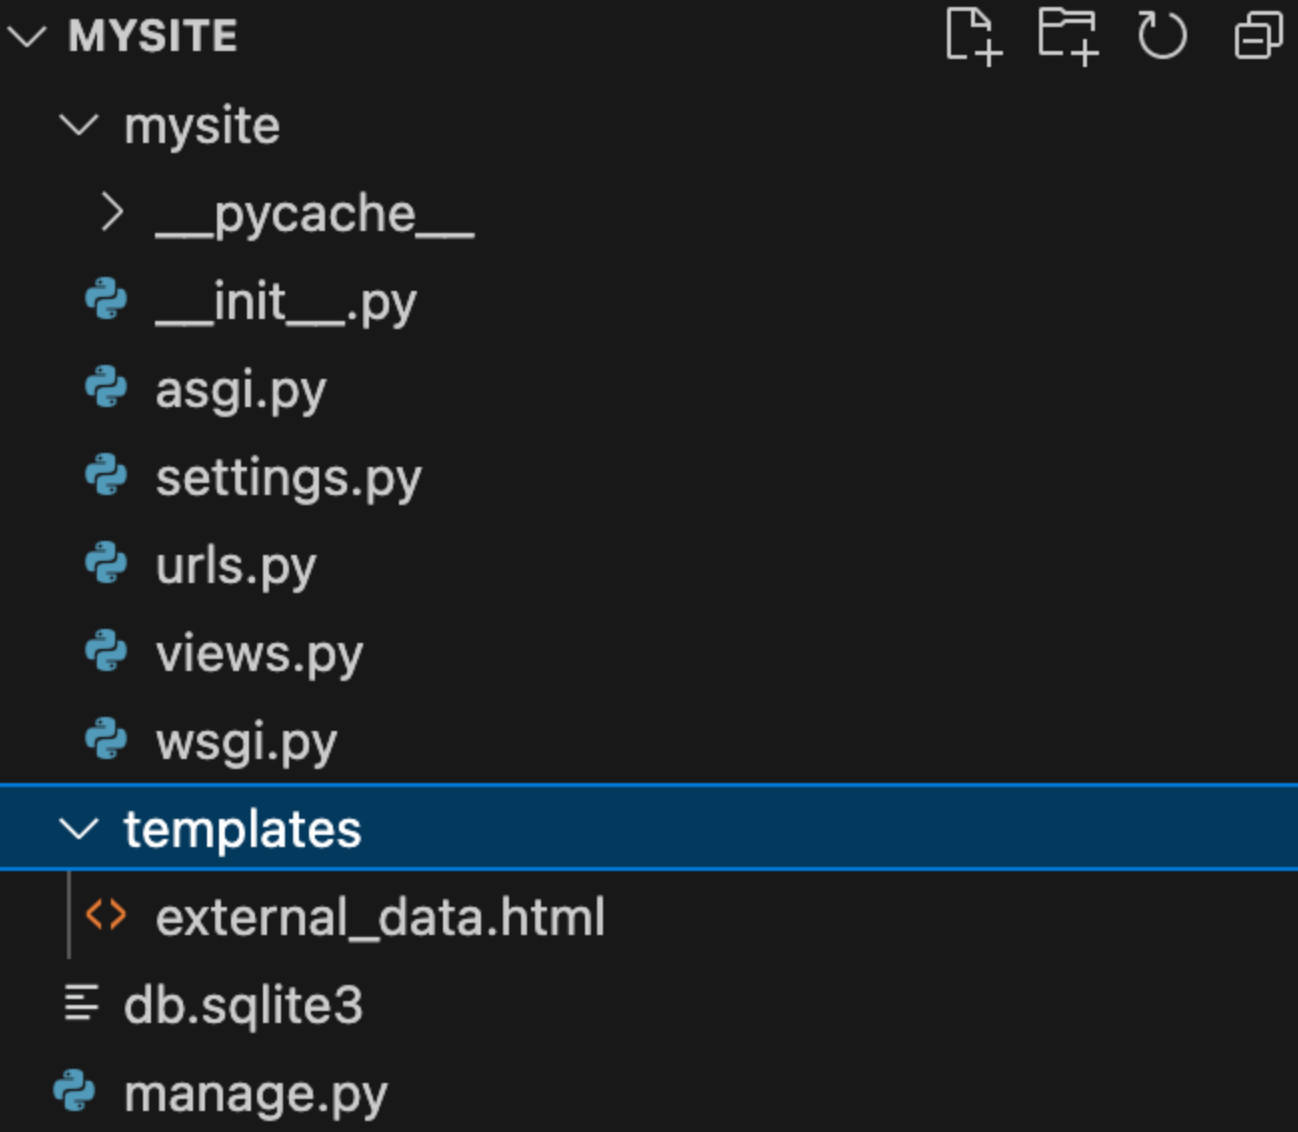
현재 폴더 구조 참고하세요.
이렇게 웹 개발의 기초부터 시작해 장고를 이용한 동적 웹사이트 개발까지의 과정을 빠르게 살펴보았습니다. 다음 섹션에서는 각 주제를 더욱 깊이 있게 다뤄보겠습니다. 감사합니다!